
Follow these steps to install Let’s Encrypt SSL in cPanel.
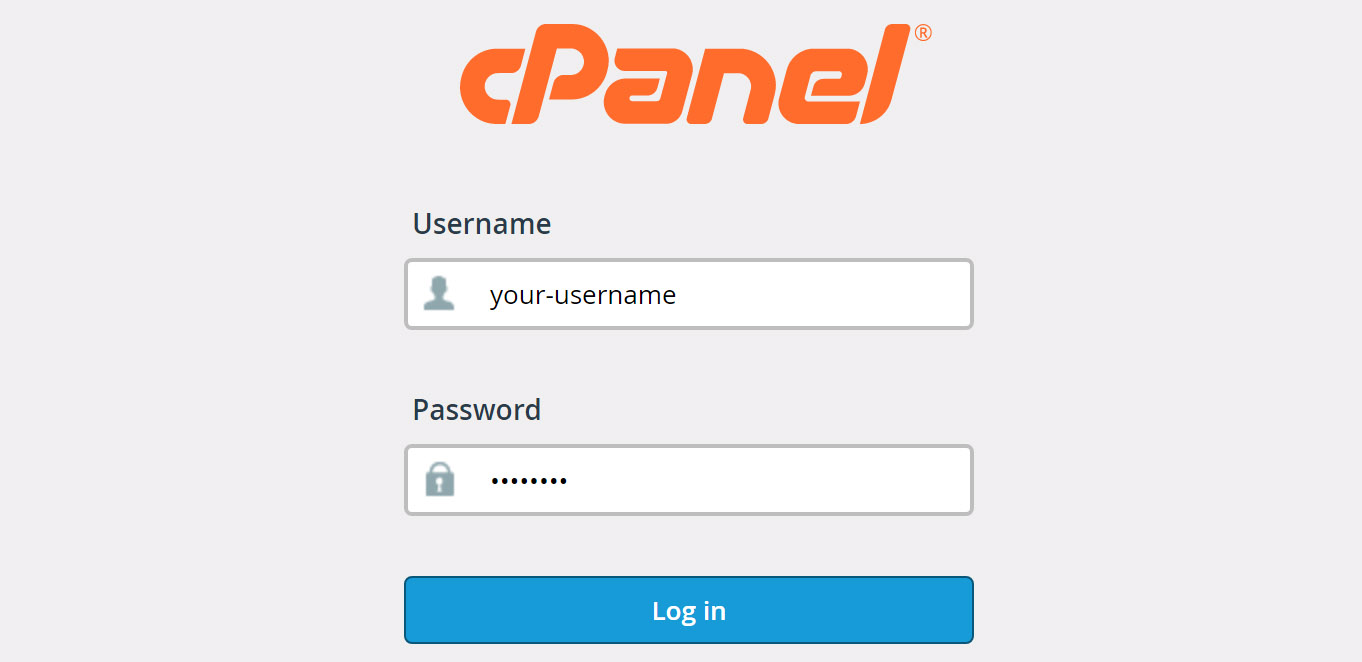
Step 1.
Log in to cPanel by entering your user name and password.
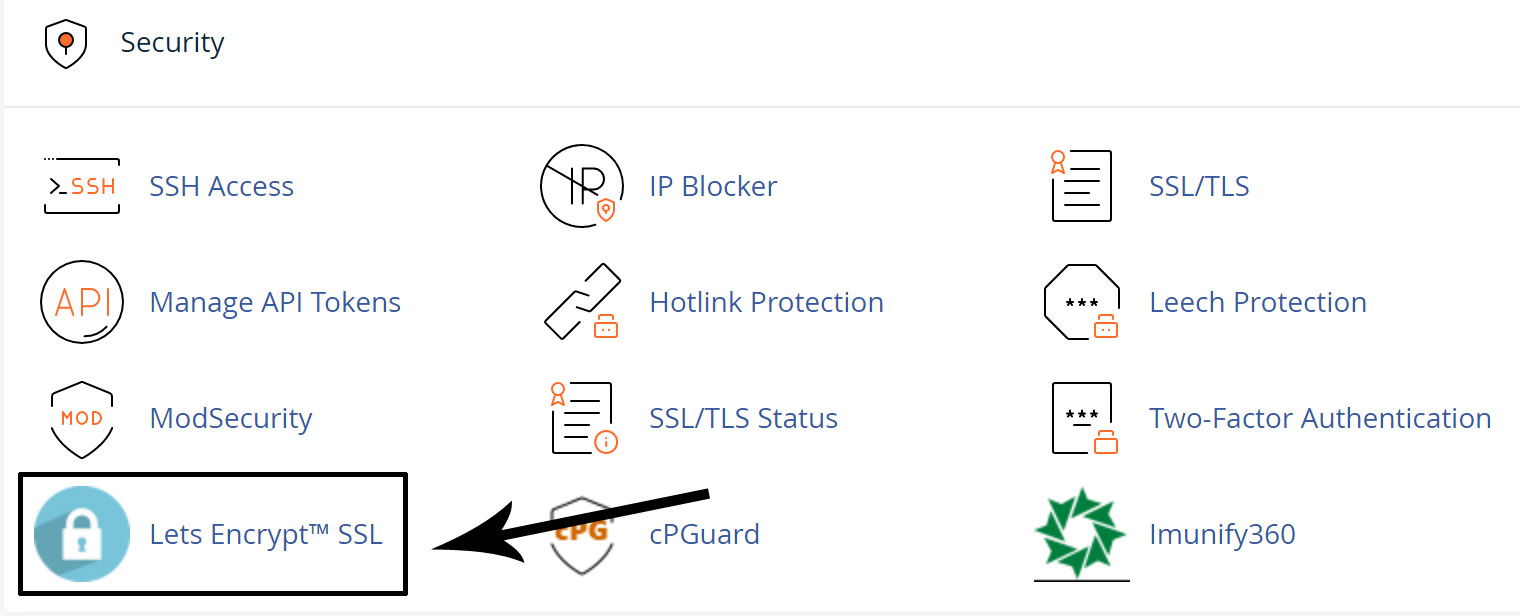
Step2.
Locate the Security section and click on the Let’s Encrypt SSL icon.
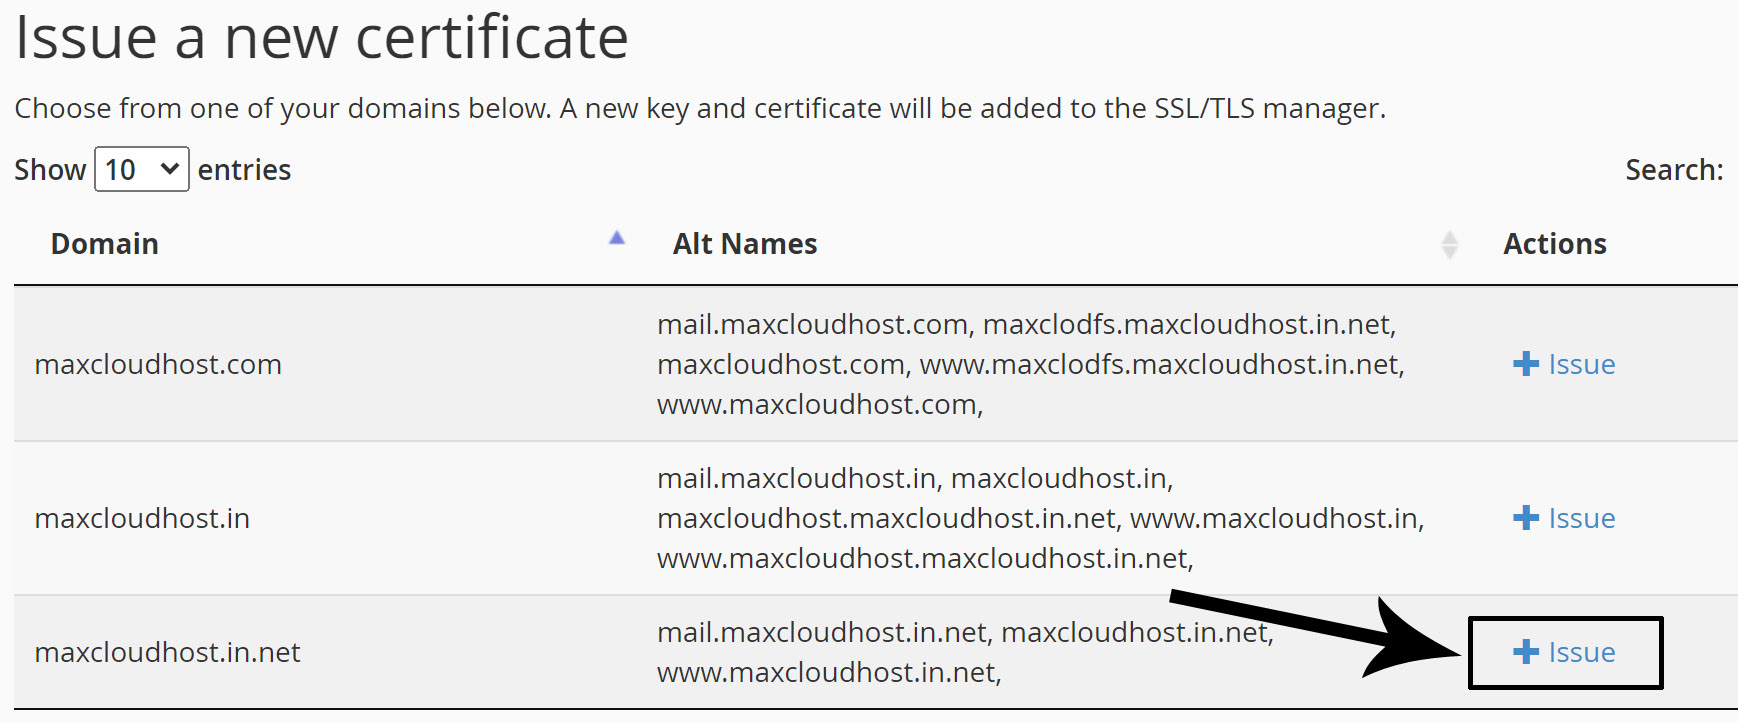
Step3.
Choose the domain name on which you wish to install Let’s Encrypt SSL and click on the +Issue link.
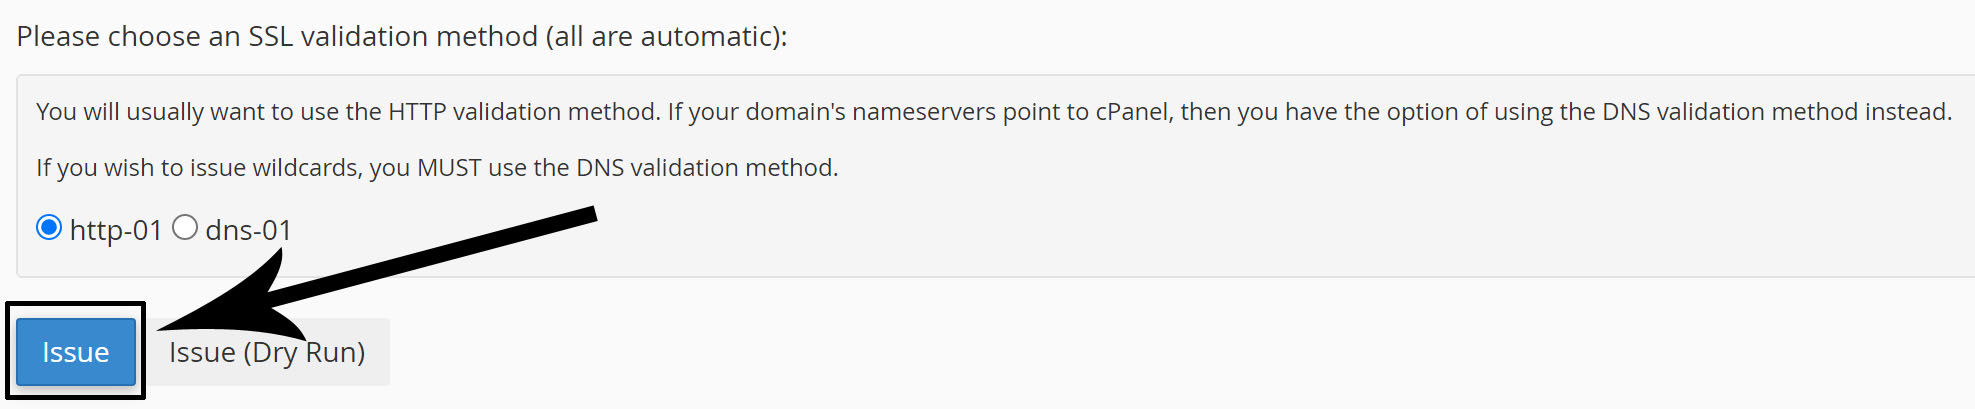
Step4.
Choose an SSL validation method. (First, select the http-01 method and then click on the issue link. If the http-01 method is not working or giving any errors, then choose the dns-01 method.)
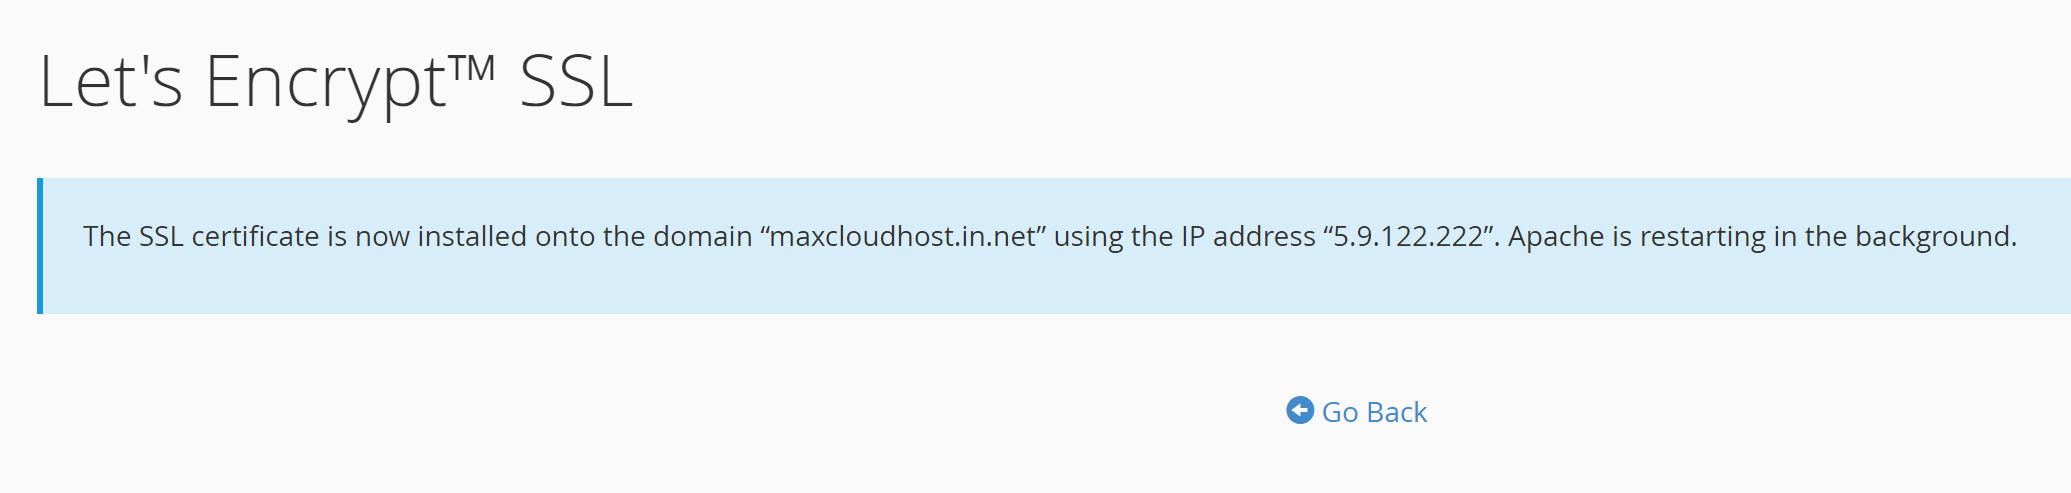
Step5.
You will see a success notification on your cPanel dashboard after completion of all the processes and be able to open your website with the https protocol.

I am the CEO, Found of Max Cloud Host offering quality and affordable services to global clients. I am an expert in the Web Hosting niche and give full support to all of our customers anytime.
Introduction Do you knowHow to install WordPress in cPanel using Softaculous. This is one of the best and easiest ways…
To install the CloudLinux Operating System in WHM, follow these steps. Step 1: Login to your SSH as the root…

Follow these steps to uninstall Imunify360 from the WHM root server. Step 1. Log in to SSH as a root…